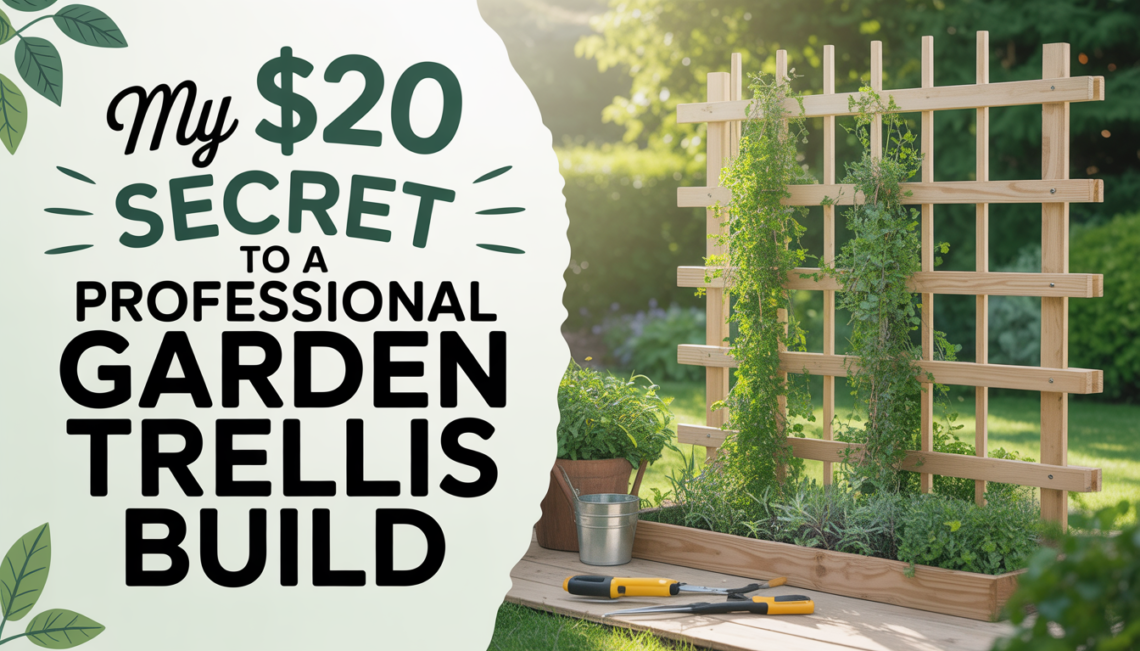
I remember standing in the middle of a high-end garden boutique three years ago, staring at a wrought-iron trellis that was listed for four hundred and fifty dollars. It was beautiful, heavy, and completely out of my budget. I went home and looked at my vegetable patch, which at the time consisted of a few sad-looking tomato plants leaning against some flimsy bamboo stakes I had bought for five dollars. The stakes were bowing under the weight of the fruit, and the whole garden looked messy and amateur. I wanted that “estate garden” look, but I only had twenty dollars in my pocket. That was the day I went to the local hardware store and discovered the single greatest secret in the world of DIY garden projects. I am going to show you exactly how a simple piece of industrial material can be transformed into a professional-grade trellis that will make your neighbors think you hired a landscape architect.
The Problem with Store-Bought Trellises:
If you walk into any big-box home improvement store, you will see rows of wooden or plastic trellises. They usually cost between $30 and $60. They look fine for about three months, but then the reality of the outdoors sets in. Wood rots when it is in constant contact with wet soil. Plastic becomes brittle in the sun and snaps during the first high wind of the season. Most of these products are designed for “light” climbing flowers like sweet peas, not for the heavy lifting of a real vegetable garden or a thick perennial vine.
I used to replace my wooden trellises every single spring. It was a waste of money and a waste of resources. I realized that if I wanted something that lasted, I had to stop looking in the garden aisle and start looking in the building materials section. I needed something that could withstand the weight of a heavy harvest and the pressure of a winter storm. I needed steel, but I needed it to look elegant. This search led me to the “cattle panel” and the “EMT conduit,” which are the two pillars of my twenty-dollar secret.
The $20 Secret: Cattle Panels and Conduit:
The secret material is the cattle panel. These are giant grids of thick, galvanized steel wire that are usually used on farms to keep livestock in place. A single sixteen-foot panel usually costs around twenty-five dollars, but for a standard home garden, you only need a portion of one, or you can find smaller “remnant” pieces for even less. When combined with EMT conduit (the metal pipes used for electrical wiring), you have the skeleton of a professional-grade structure.
I remember the first time I loaded a cattle panel into my truck. It was awkward and heavy, but I could feel the strength of the steel. I realized that this was the “industrial gold” of the gardening world. It doesn’t rust, it doesn’t bow, and it provides a perfect grid for plants to grab onto. By using a few simple tricks to hide the industrial nature of the metal, you can create something that looks like it belongs in a historic manor.
- Durability: Galvanized steel will last twenty years in the garden without any maintenance.
- Versatility: You can arch it, lean it, or mount it flat against a wall.
- Strength: It can support the weight of heavy winter squash or massive climbing roses without flinching.
Step 1: Designing Your Vertical Space:
Before you start cutting metal, you have to decide what kind of trellis your garden needs. Vertical gardening is the best way to maximize a small space. It keeps your fruit off the ground, which prevents rot and keeps pests like slugs away from your harvest.
I learned the hard way that you have to plan for the “full-grown” weight of the plant. A tiny clematis starts small, but in three years, it can weigh fifty pounds when it is wet from the rain. I always design my trellises to be “over-engineered” for this reason. I want to build it once and never think about it again. This is a core principle of sustainable DIY, building for longevity rather than convenience.
- The Lean-To: Great for cucumbers and squash. It creates a shaded tunnel underneath where you can grow lettuce.
- The Arch: The “showstopper” for the entrance of a garden. This is where the sixteen-foot cattle panel really shines.
- The Wall Mount: Perfect for small patios. It turns a boring fence or brick wall into a living tapestry.
Step 2: The Professional “Black Steel” Finish:
The reason my trellises look like they cost hundreds of dollars is a single can of matte black spray paint. Raw galvanized steel is silver and looks a bit like a construction site. While it is functional, it isn’t “pretty.”
I spent an afternoon experimenting with different finishes. I tried dark green, but it looked cheap. I tried copper, but it was too bright. When I hit a scrap piece with matte black paint, the metal seemed to disappear, leaving only the “structure” behind. It looks exactly like expensive wrought iron. This is the ultimate home improvement hack. The paint also provides an extra layer of protection against the elements, though the galvanization underneath is doing most of the work.
- Preparation: Wipe the metal down with a bit of vinegar to remove any factory oils so the paint sticks better.
- Application: Use thin, even coats. Don’t worry about the back of the wires too much, as the plants will eventually cover them.
- Drying Time: Let the panels dry for a full twenty-four hours before you try to install them. Scratched paint is a “tell” that the project is a DIY.
Step 3: Anchoring for the Long Haul:
A trellis is only as good as its anchor. I have seen beautiful structures blow over in a summer thunderstorm because they were just “pushed” into the dirt. To get that professional stability, you need to use rebar stakes.
I buy two-foot lengths of rebar and hammer them eighteen inches into the ground. I then slide the hollow EMT conduit over the rebar. This creates a “sleeve” system that is incredibly strong. I then attach the cattle panel to the conduit using heavy-duty black zip ties or, for a more permanent look, copper wire.
I remember the first time a major windstorm hit my garden. I looked out the window and saw my neighbors’ wooden trellises snapping like toothpicks. My steel arch didn’t even vibrate. That was the moment I knew my twenty-dollar investment was the smartest thing I had ever done for my yard. It provides a level of structural integrity that you simply cannot buy at a garden center.
[Table: Store-Bought vs. DIY Secret Trellis]
| Feature | Big-Box Wooden Trellis | The $20 DIY Secret |
| Material Cost | $45 – $80 | $15 – $25 |
| Lifespan | 2 to 4 years | 20+ years |
| Weight Capacity | 15 lbs (Light vines) | 200+ lbs (Heavy squash) |
| Installation Time | 5 minutes | 45 minutes |
| Aesthetic Value | Basic/Standard | Professional/Custom |
| Maintenance | Requires staining/sealing | Zero maintenance |
Step 4: Selecting the Right “Climbers”:
Now that you have a structure that can support a car, you have to choose your plants. This is where the fun starts. I like to mix “edibles” with “ornamentals” to create a garden that is both beautiful and productive.
If you are a vegetable gardener, the cattle panel grid is perfect for indeterminate tomatoes. Instead of using cages that always fall over, you can “weave” the tomato branches through the wire grid. For a “wildcard” option, I love growing Malabar spinach. It is a heat-loving vine with beautiful purple stems and thick green leaves that taste great in salads. It grows so fast that it will cover a six-foot trellis in just a few weeks.
- For Fragrance: Jasmine or Honeysuckle. They will turn your trellis into a perfume factory.
- For Impact: Wisteria. Be careful, though, as wisteria is incredibly heavy and powerful. Only a steel trellis like this one can handle a mature wisteria vine.
- For Food: Pole beans and cucumbers. They love the vertical space, and the extra airflow prevents powdery mildew.
Step 5: Integrating Lighting for the Evening Look:
If you want your garden to look like a “designer” space at night, you have to think about lighting. Because the cattle panel is a grid, it is incredibly easy to wrap solar string lights around the frame.
I realized that by hiding the tiny solar panel at the very top of the trellis, I could create a “glowing” archway that looks magical after the sun goes down. The matte black paint helps hide the wires of the lights, making the little bulbs look like they are floating in the air. This adds a layer of landscape lighting that costs almost nothing but doubles the amount of time you can spend enjoying your outdoor space.
I remember sitting in my garden late one July evening with a glass of iced tea. The roses were climbing the black steel, the solar lights were twinkling, and the whole space felt like a luxury retreat. I realized that the “luxury” wasn’t about the money I spent, it was about the creative logic I used to build it.
The Maintenance Myth:
People often ask me if the metal gets too hot for the plants in the summer. I was worried about this too, but I discovered it is a complete myth. Plants are mostly water, and they have their own cooling systems. Unless you live in a literal desert with no shade, the metal wires stay cool enough that they won’t “burn” your vines.
In fact, steel is better for plants because it doesn’t absorb water as wood does. Wood can harbor fungus and pests that will eventually jump onto your plants. The steel is a “clean” surface. Every spring, I just give the trellis a quick spray with a hose to remove any old spider webs or dust, and it looks brand new again. This is the definition of low-maintenance gardening.
Bottom Line:
Building your own professional-grade trellis is one of the most rewarding DIY projects you can tackle. It saves you money, improves your garden’s health, and gives your outdoor space a high-end look that lasts for decades.
FAQs:
1. Where can I buy a cattle panel?
Look for “Farm and Fleet” stores or local agricultural co-ops. They are usually kept in the outdoor fencing section.
2. How do I cut the thick steel wire?
You will need a pair of bolt cutters. A standard wire cutter won’t be strong enough for the heavy-gauge galvanized steel.
3. Can I build this on a balcony?
Yes! You can secure the conduit to a heavy planter box using “U-bolts” to create a vertical screen for a smaller space.
4. Will the matte black paint chip off?
If you prep the metal with vinegar and use a high-quality “all-surface” spray paint, it should last for several years before needing a quick touch-up.
5. Is rebar safe for the soil?
Yes. Rebar is just iron, which is a natural element. A small amount of rust over time won’t harm your plants or the soil quality.
6. How many plants should I put on one trellis?
For a four-foot-wide panel, two or three vigorous climbers (like cucumbers) are plenty. Don’t overcrowd them, as they need airflow to stay healthy.